
A light meter is a device used to find the best exposure for photography, based on the amount of light in the scene. It can be reflected or incident. A reflected-light meter measures the light reflected by the scene, while an incident-light meter measures the light falling on the scene.
Most high-tech DSLRs have built-in reflected-light meters, and you don’t have to do anything special to use them. But these are easy to fool by scenes with many bright colors (e.g., a bride in the snow), or many dark colors (e.g., a black car into the night), or powerful highlights (e.g., a sunset). They only base their decision on a small number of points (depending on your chosen metering mode: matrix metering, spot metering) and can easily overexpose or underexpose parts from your scene.
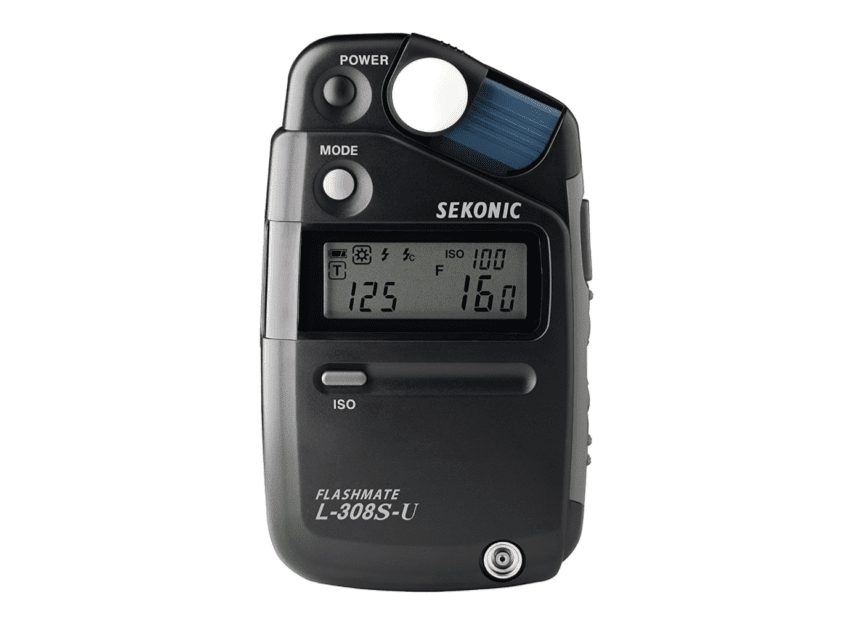
On the other hand, there are the independent handheld incident-light meters that can make your life much easier. They can measure not only the ambient light but also the light coming from a flash. The accuracy of a handheld light meter is higher than a camera’s built-in meter. Some light meters have features that allow you to synchronize them with the sensitivity of the camera sensor. So, they will warn you when the lighting conditions exceed the sensor’s capacities.
You can use a handheld light meter in several ways.
Find the best exposure
A light meter is centered around ISO, shutter speed, and aperture priority. To set up a measurement, you have to select ISO first. Then, choose between shutter speed and aperture priority, based on your interest in the composition. The light meter will measure and deliver the other parameter involved. Here are the steps:
1. Choose your preferred ISO and your preferred shutter speed or aperture priority.
2. Place the light meter near your subject, with the white integrating sphere facing the camera.
3. Press the measuring button.
4. The measured value is displayed (f-number or shutter speed, depending on your initial choice).
5. Adjust your camera with the value from the light meters.
After taking a measurement, any change in the initial conditions (ISO, shutter speed or aperture priority) will automatically change the measured value, without the need for a new measurement. Only changes in illuminating conditions will require a new measurement.
Set up the lights
In studio photography and cinematography, light meters are used to set up the lights. Let’s assume you know exactly all the camera settings you want to use. Set the light meter with ISO and shutter speed. Place it near your subject. Take a measurement. Change the lights and shadows and take another measurement until you get the desired value. This is very useful when you have artificial lights or many sources of lights. Use this when you have the time and space to compute a scene.
Working with a flash
Most of the light meters offer the possibility of measuring the amount of light coming from a flash. The synchronization can be made by attaching the flash to the light meter, by imposing the device to wait for you to manually trigger the flash or by a radio synchronization.
This allows you to find the best exposure when working with a flash or to adjust the power of the flash to achieve the settings you want.
If you are interested in the meter above you can pick one up here.