

Photo editing provides everything from minor photo retouches to outstanding effects. It helps you prepare photos for printing, sharing on social media, or submitting to photo contests. It also enables you to create a personal and cohesive artistic style. Although you can excessively edit your photos and ruin them, most of the time, your photos will benefit from post-processing.
However, photo editing offers so many possibilities that it may become confusing and time-consuming. So, when you know which editing direction you are going and have many photos to edit, batch processing comes to your rescue. Here is why and how to use batch processing when editing your images.
Why Do You Need Batch Processing?
There are two reasons why a photographer needs batch processing: speed and accuracy.
What batch processing essentially does is apply the same changes to multiple images at the same time. It can save the edited images in a different folder or under a customized name, allowing you to keep the original files for future reference. This saves you a lot of time and keeps your file organized, which means you’ll lose less time later looking for the correct image version.
In addition, applying precisely the same edits to multiple photos produces a cohesive result. There is no room for mistakes. All your images will benefit from the same editing settings. This creates a consistent body of work and helps you develop your style.
What Can You Do with Batch Processing?
Most photo editors provide a set of basic edits for batch processing, such as:
- Converting to a different file format: Converting from one file format to another may be a nightmare when you have thousands of photos to convert. Batch processing automatically helps you switch between RAW and JPEG, PNG and JPEG, and many other formats. It also allows you to set the conversion’s parameters, such as JPEG compression rate.
- Resizing: You can use batch processing to change the width, height, aspect ratio, and resolution of your images. This may be very helpful when preparing your images for social media, as each social media provider has a size and aspect ratio that works best (e.g., Instagram images are square).
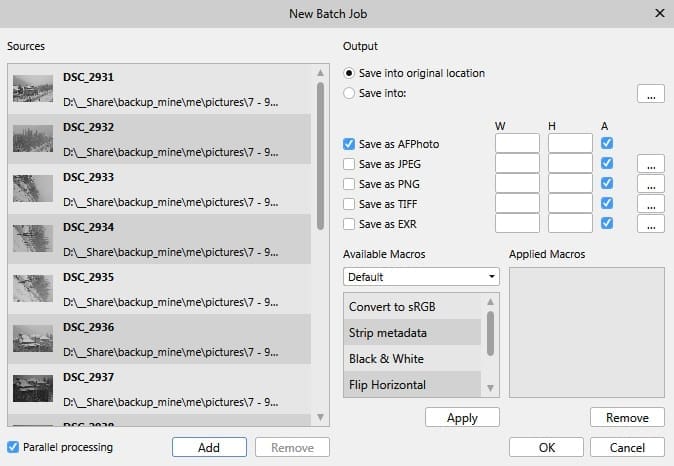
Affinity Photo Batch Processing Controls
- Adding watermarks: Most photo editors allow you to automatically add a watermark to multiple images via batch processing. You get to choose the image used as a watermark and the destination for the edited images. You can make other adjustments at the same time (e.g., resizing, converting, etc.).
- Editing metadata: This can take a very long time if you do it one image at a time. Depending on the editor, batch processing allows you either to strip metadata completely or add information, such as location and photographer’s name.
- Applying sets of edits: Every photographer has a set of edits they do all the time. For example, a combination of resizing, converting, adding watermarks, and adjusting colors and contrast to match a particular style. You can create a set of actions in most advanced editors, whether they are called actions (Adobe Photoshop), macros (Affinity Photo), looks (Luminar), or presets (Adobe Lightroom). Then, batch processing is used to apply them to multiple images.
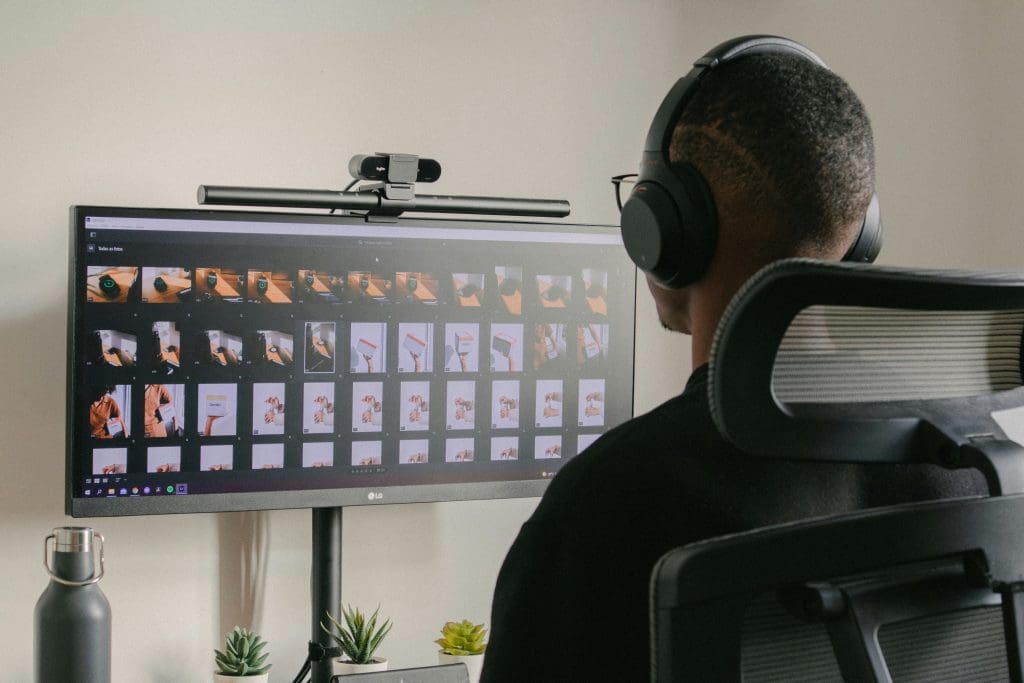
Photo by Nubelson Fernandes on Unsplash
Conclusion
Using batch processing to edit your photos helps you spend more time taking photos than editing photos. It also encourages you to create a personal style that shines through all your work. Even though there are so many beautiful effects one can use, you’ll notice that all great photographers use just a handful of the impact, often just one within the same photo series. Consistency and coherence are essential for your portfolio.
Cover photo by Joseph Pearson on Unsplash