

While your photos may look amazing on your computer’s screen, chances are they don’t look the same on paper. Printing has its own set of parameters you need to consider such as paper’s characteristics (thickness, size, orientation), printer’s color matching, ICC profiles, and so on. However, if you use a professional printing service, you don’t have to manage all these settings by yourself. But you still have to prepare your photos for printing. Here are the most important things you should consider.
Respect the Minimum Resolution Recommendation for Printing
The recommended minimum resolution for printing is 300dpi (dots per inch). The resolution influences the amount of detail visible in a photo. The larger the resolution is, the more details you’ll have.
On a computer screen, your photos will look very sharp and clear at 72dpi or 96dpi. But don’t let yourself be fooled by what you see on the screen and use a 300dpi resolution for pictures you send on printing. Especially for large images, the resolution makes the difference between an exceptional photo and an amateur one.
Resize the Photos before Sending Them to Printing
Large prints can look blurry if you didn’t enlarge the images before printing. Moreover, image enlargement isn’t an easy task, and not all photo editors can deliver high-quality images. You’ll find specialized editors or plugins that deal exclusively with image resizing.
When you resize images, make sure you fix the aspect ratio and preserve the geometry of your composition. It’s also a good opportunity for setting the print resolution.
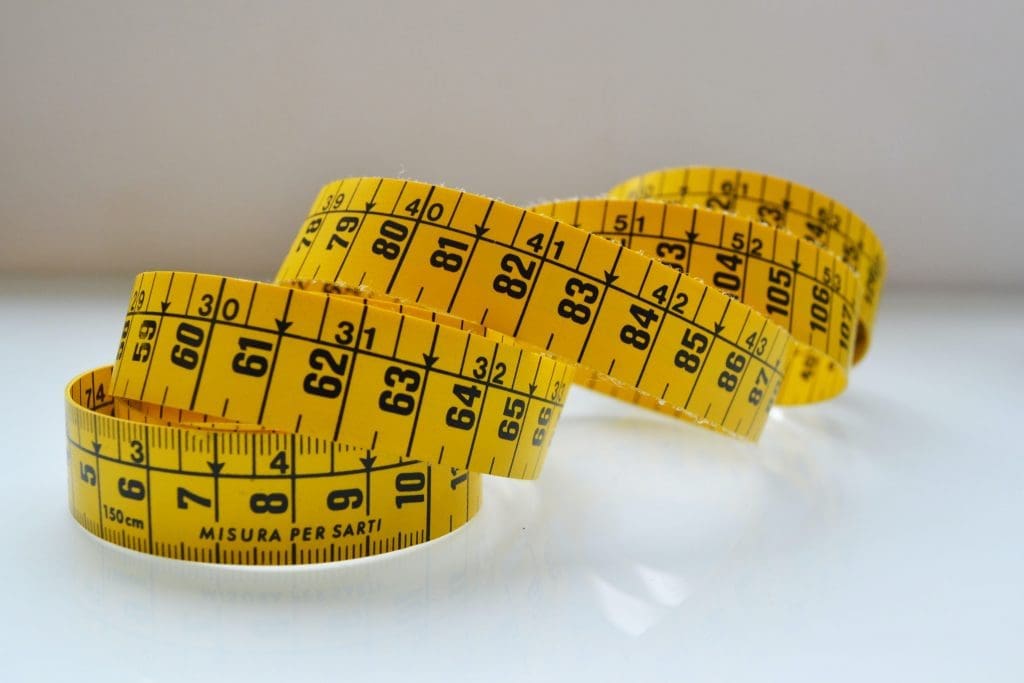
Photo by patricia serna on Unsplash
Crop the Pictures to Match the Aspect Ratio of the Paper
The print medium comes with its own standards. You’ll find photographic paper with 5:4, 3:2, or other aspect ratios. Check the paper sizes provided by your printing service and adjust your photos to match their requirements.
Cropping is a task that requires attention because it changes the composition. For example, you may cut out negative space and clutter the frame. Or you may cut out a part of an element and leave it in an awkward limbo at the edge of the frame. Remember to respect the rules of composition and deliver well-balanced and appealing compositions.

Photo by Sandie Clarke on Unsplash
Soft Proof Your Photos
Advanced photo editors allow you to soft proof your photos before sending them to printing. Soft proofing a photo means seeing it as it will look on paper. The editor simulates the effect of printing and shows you how your image will look in ink. Soft proof your photos after you finished editing them. Redo the soft proofing step if you modify the image any further.
For example, Affinity Photo has the Soft Proof adjustment layer. It includes a lot of proof profiles (ICC profiles). To have an accurate representation of the print, you need to select the correct profile for the printer and paper you use. Ask the printing service provider for the ICC profile. Don’t forget to deactivate the Soft Proof layer before exporting the image and sending it to printing.

Consult a Specialist for Choosing the Print Medium
Nowadays, you can print your photos of paper, canvas, aluminum, and other materials. Each of them has its properties and requires different preparations. Ask all the questions before starting to prepare your photos for printing. You need to know exactly what type of ink and print medium you’re preparing for. And the best way to get all the information you need is to speak with the printing service provider.
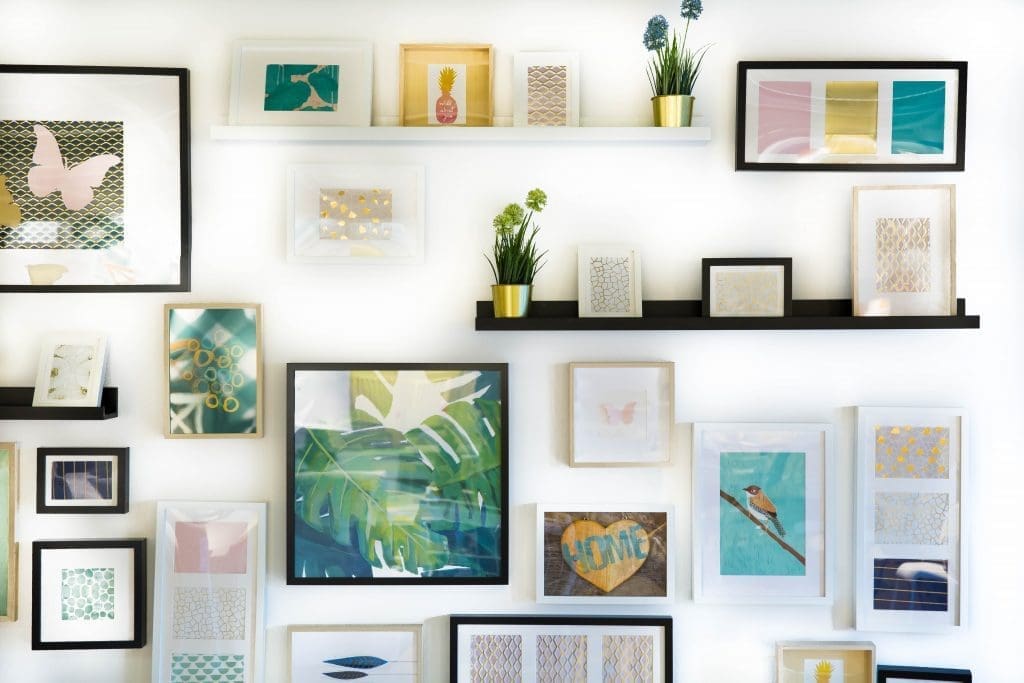
Photo by Jonny Caspari on Unsplash
Some photographers argue that a photograph isn’t really a photograph until you print it and hold it in your hands. And we have to admit there is something very special in seeing your photographs on paper or, even better, hanging on the wall. However, professional printing services may be expensive. So prepare your photos thoroughly and make a note of each adjustment you’ve made.