

The first advice you get as a novice photographer is to take multiple photos of the same scene. You can always cull your images in post. Photography captures moments, and you have only one chance to do it. You can’t turn back time to take another shot. When the photo session is over, you only have the photos saved on your memory card. Therefore, photographers take hundreds or thousands of photos at each photo session.
Yet, you can‘t send all of them to your client or print them for your photo album. You have to choose the best ones, and that’s a challenge. How do you cull your images to make sure you select the best ones? Here are some tips to help you get started.
Visualize your photos as thumbnails
Visualizing your photos at full size, one by one, is time-consuming. Besides, you don’t really get to compare them. But when you see 8 or 12 photos at once, you can spot differences immediately and decide which one is a keeper and which one isn’t. Use larger thumbnails because they allow you to notice an unbalanced composition or blurred photo.
Once you’ve noticed a good image, mark it in some way. If you’re using a dedicated program for visualizing photos, you can use flags. If you’re using your operating system’s file organizer program, you can copy selected photos to a new folder.
Choose a few good images from each group of similar photos
As you take multiples photos of a scene, you’ll probably end up with groups of similar photos. Check out the compositions throughout your series of photos. You may want to keep a large variety of compositions, from environmental shots to close-ups. Also, if you photograph events, make sure the selected photos cover the entire narrative of the event. You don’t want to skip part of a wedding just because you took better photos of other moments.
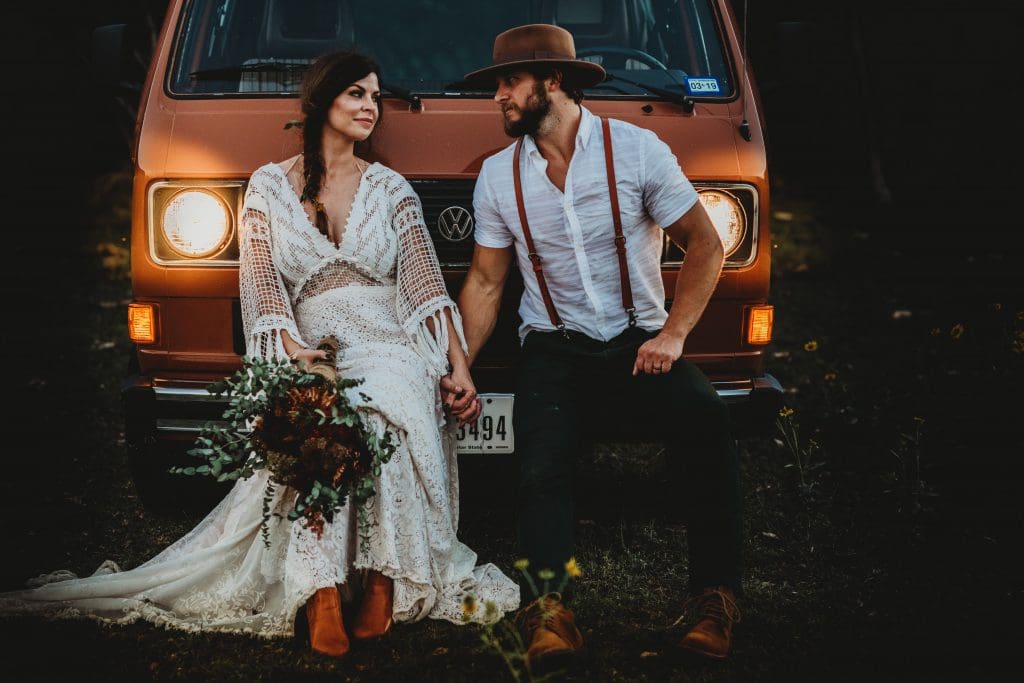
Don’t miss important moments – Photo by Jessica Rockowitz on Unsplash
Don’t be sentimental
A common mistake when culling your images is to choose based on personal judgments. For example, you may keep a technically bad photo just because its subject is meaningful to you. Keep in mind that the client won’t appreciate a bad picture regardless of how cute the subject is. You want to deliver photos with good exposure and contrast, sharp, without noise, well-balanced, and with a strong focal point. Ideally, they will also have meaningful subjects for you and your client. Don’t let personal sentiment get in the way when you cull your images.
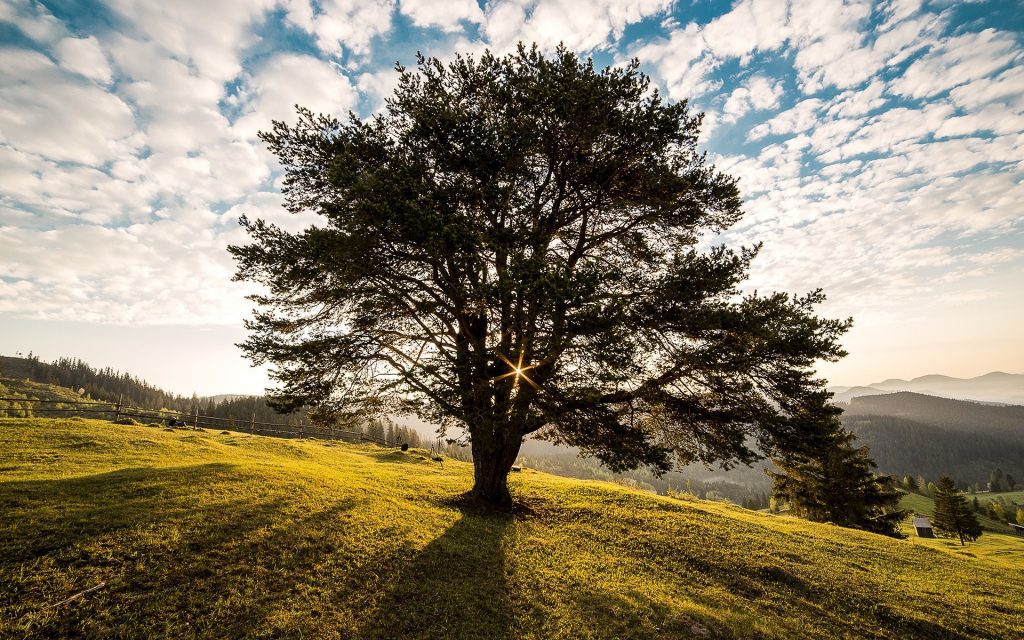
It should be a great photo not just your favorite tree
Edit more photos than you need
Don’t edit just the number of photos you agreed to deliver to your client. Edit a few more from each category. As you edit a photo, you may realize that you still don’t get the right result no matter how many filters and adjustments you use. Some great photos reveal themselves after the editing is over. So choose photos that have potential and invest some time in editing them. Your work will be rewarded for sure.
Use a photo editor with digital asset management
When you process a large repository of photos, it’s helpful to use dedicated digital asset management. Photo editors such as Capture One, Luminar AI, Adobe Lightroom, and Exposure X6 provide image organizing tools that can make your job very easy. For example, you’ll have tools for organizing images based on a series of criteria (e.g., flags, color labels, capture time, metadata), creating smart albums, batch processing, reviewing multiple photos simultaneously, and pining one or more images to keep them in view.
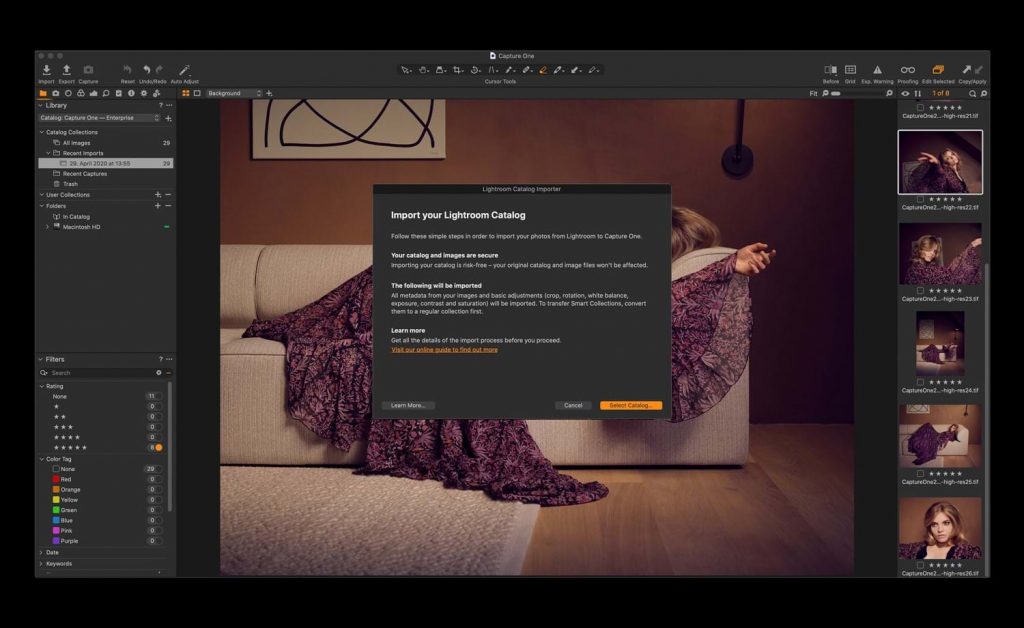
Capture One image organization
Culling photos is an important part of a photographer’s workflow. You don’t want to miss your best photo just because you’ve overlooked it during the selection process. Also, keep in mind that you deliver visual stories, and you have to create a powerful photo series. So don’t forget to cull your images.
Cover photo by picjumbo.com from Pexels