
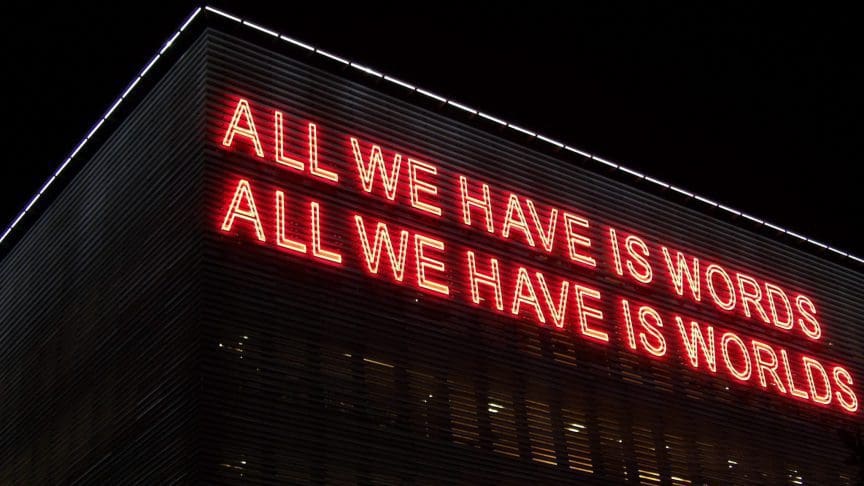
There’s a modern fascination of lights we can’t ignore. Urban life wouldn’t be the same without bright billboards, street signs, and neon symbols of all kinds. We decorate our houses with lights for the holidays, we decorate our store windows, we fill the city with useful, funny or attractive signs. How can you photograph neon signs and why would you do it? Well, the first reason to do it is the incredible amount of meaning these signs carry. Some of them have written messages, some of them are just symbols, but all of them tell stories. Another good reason is the artistic value of these signs. They can be an artistic representation of street life, music culture or fashion. Neon lights are used in abstract and fine art photography as well. So there are many reasons to photograph neon signs. Here are some tips to help you do it right.
Choose the right gear
Neon signs are a subject available in low lighting conditions. Moreover, they have very bright areas next to very dark ones. Not all cameras are good for such a difficult subject. You need a camera with low lighting performance, wide dynamic range, and high ISO options. It would help to have a camera with Matrix Metering and Spot Metering, so you can choose the image area used for exposure settings.
You need a wide lens, which allows you to use a large aperture and let as much light as possible into the camera. Image stabilization is also a feature you want.
When photographing neon signs, tripods are essential. Use slower shutter speeds and low ISO to enhance the lights without adding noise to your images. Luckily your subject isn’t moving and you don’t end up with blurred images.
Nevertheless, pictures of neon signs usually require post-processing. A good image editor will help you remove the noise, enhance the colors, make skin adjustments if the lights reflect on people’s faces, and crop unnecessary items that ruin the composition. Shoot in RAW to have room for editing.
Choose the right moment
Many photographers choose night time to photograph neon signs. It’s understandable because at night the signs are most visible. Still, if you don’t want to take night pictures, you can choose to photograph during the blue hour. Blue hour defines the last hour before sunrise and the first hour after sunset. This is twilight. A soft, blue light makes the signs bright and colorful. Still, the sky isn’t black, but a nice dark shade of blue and indigo. You have enough light to have a non-black background. This means you put the neon sign into context, which makes complex compositions.
Night and blue hour have different lives. At twilight, people are more active, more present in the city life. At night there are much fewer people. The right moment to take pictures depends on your goals and style.
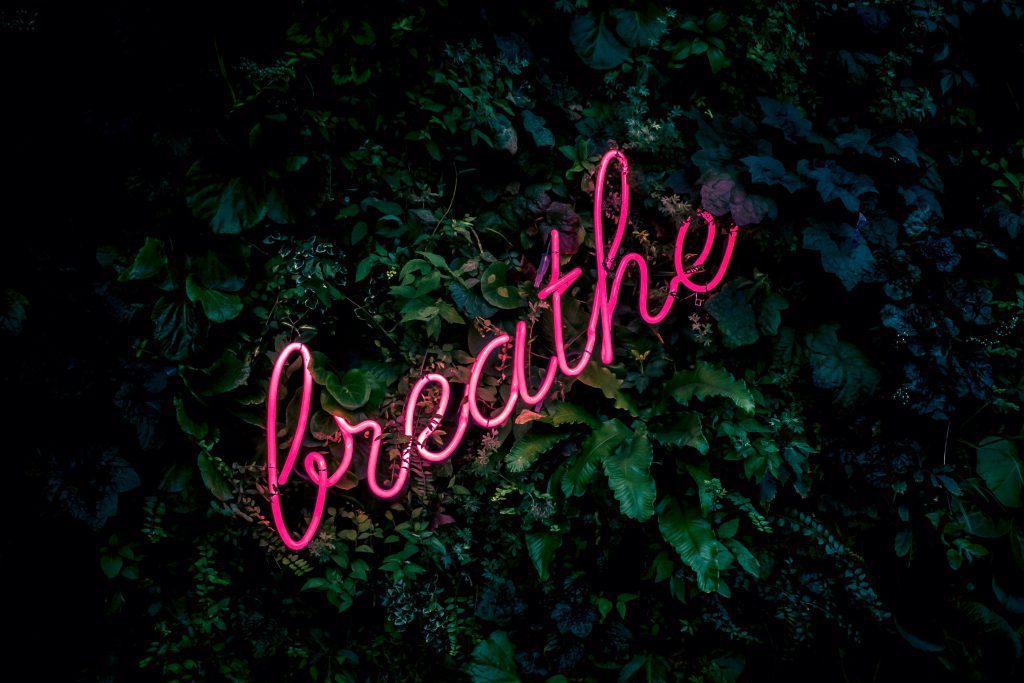
Photo by Fabian Møller on Unsplash
Neon signs are a complicated subject, but they are also rewarding. They give you many elements to work with. Shooting at slower shutter speeds can get creative and artful. On the other hand, using wisely the meaning of the sign can transform your images in documentary material. Night photography can also benefit from neon lights. Even in professional fashion photography, you can find neon signs. They are the symbol of urban culture. Keep in mind that you need a dedicated camera and a lot of practice.
We think you may also like the article How to Improve Bokeh.