
With so many photo editors and filters at hand, it’s easy to fix your photos or produce amazing artworks. However, it’s also easy to overdo it and process your images too much. If you photograph the real world and want natural-looking images, photo editing should be subtle and honest. Focus on getting the right exposure, a well-balanced composition, accurate colors, and a natural atmosphere. Please keep it simple and learn to control each aspect of an image instead of using presets and filters. Below are four photo editing steps to fix your photos. Here is a roadmap for a smart and well-organized editing workflow.
Geometric issues
Framing should be the first item on your editing list. Make sure you have a straight horizon line, a powerful focal point, and a well-balanced composition. Eliminate objects cut at the edge of the frame, scale the image to make the subject fit your composition, and crop the frame to match the desired aspect ratio or rule of composition. Get these done before any other adjustments because geometry is the base of photographic composition.
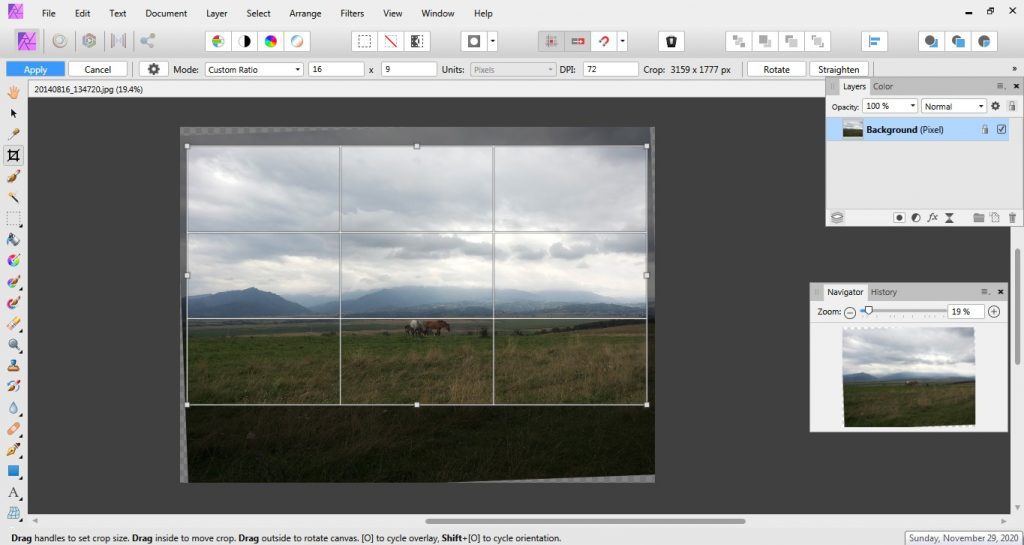
Straighten the horizon; use the rule of thirds; use a specific aspect ratio
Lighting issues
If you didn’t get the exposure right in the camera, you could fix it in post-processing. Most editors provide functionalities such as exposure, levels, contrast, brightness, and white balance, which allow you to fix lighting issues while preserving the natural aspect of the image. If your image doesn’t have a wide dynamic range and you have to choose whether to overexpose or underexpose areas of the image, focus on getting the right exposure for the main subject.
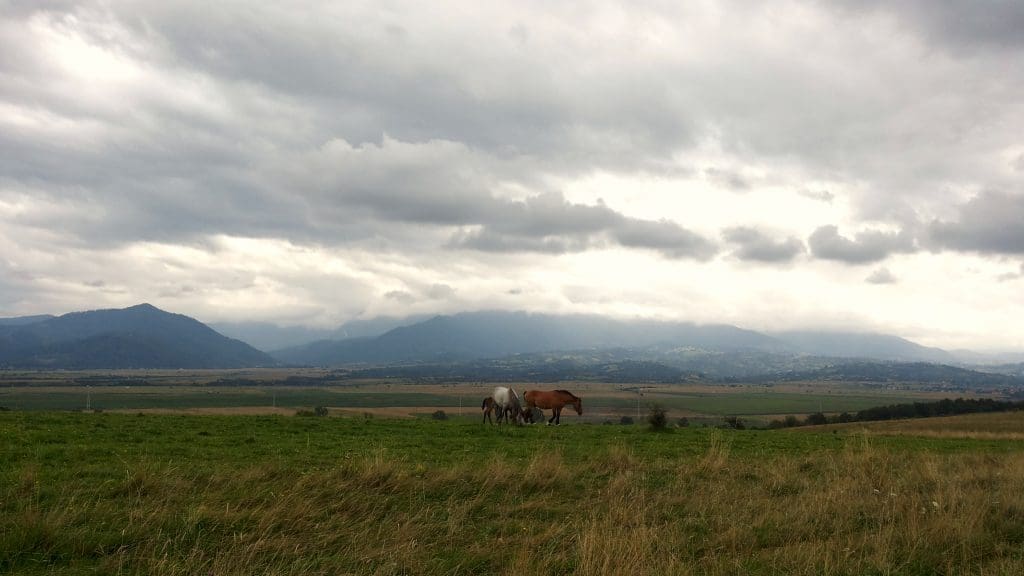
Fix exposure; adjust contrast and brightness; watch the histograms for well-balanced compositions
Color issues
Lighting conditions may alter colors. Shoot in RAW to capture accurate colors and have room for editing. The most popular color adjustments are vibrance, saturation, curves, and split toning. You can improve color saturation and vibrancy, but you can also create an atmosphere by making the tones slightly colder or warmer. Some color adjustments should be applied locally, so make sure your photo editor provides selective edits.
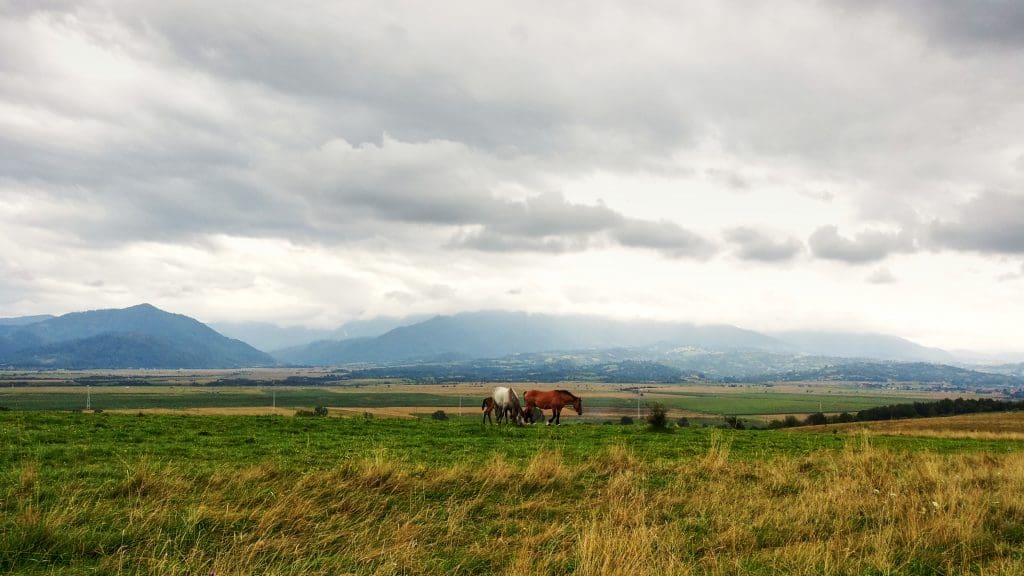
Keep the colors natural and recreate the atmosphere of the scene
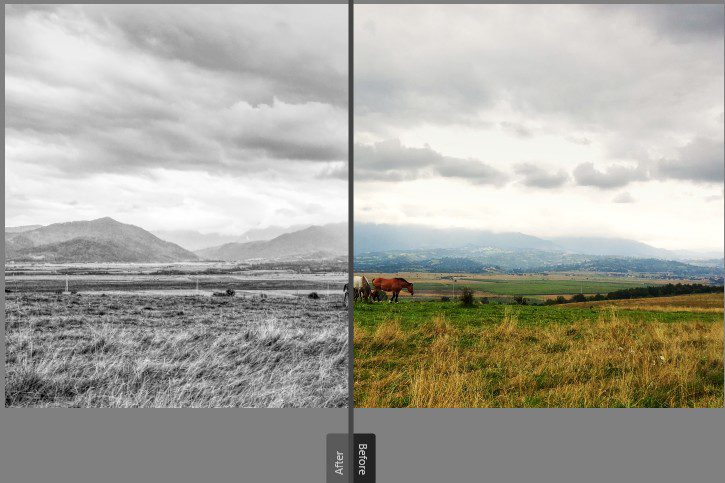
Special effects
Use special effects to create artworks and bring to life your artistic vision and not to hide a bad photograph. Try to take good photos from the beginning and don’t rely on post-processing. Special effects should be used to add drama and new meanings, express your creativity, and improve the visual story. For example, if you want a black and white photo, shoot directly in black and white. You can use black and white conversion when it adds something to your artistic process and not as a last resort for a picture with awkward colors or lacking clarity.
Use special effects to make a statement not to hide mistakes
Use post-processing wisely. It provides endless creative methods to improve your photos and create amazing artwork. But it should be used as a creative tool and not as a fast fix for every photo. Try to have the discipline of getting good photos directly on the camera. For more photo editing steps, click here.