
There is no artistic vision you can’t bring to life when you have the right light. Sunlight is, of course, the preferred light source. Its naturalness, quality, and color are unbeatable. Even commercial photographers try to benefit from natural light as much as possible. However, most professional photographers have a few studio lights in their photo bags even when shooting outdoors. And if you are in disbelief, here are some pointers on how studio lights can step up your outdoor photography.
Why Do You Need Studio Lights When Taking Photos Outdoors?
The first reason is the unpredictability of natural lighting. You can fully rely on the weather forecast. In addition, natural light changes during the day. Any change in intensity, direction, and color temperature affects the consistency of your photos. This is a big issue, particularly in the context of commercial photography.
Then, even with the most amazing sunlight available, your subject may decide to stay in the shade. To avoid dark, underexposed photos, you must slow down the shutter speed, use a wider aperture, or increase the ISO value. All these camera settings adjustments influence the composition.
Photo by Jill Heyer on Unsplash
Finally, studio lights give you control over the mood and atmosphere in your photos. Not only you can solve issues caused by lack of light, but you can also create a lighting design that matches your brief or artistic vision. In other words, you aren’t limited by sunlight’s direction, intensity, and color temperature and can freely design your compositions.
Best Types of Studio Lights for Outdoor Photography
Consider both discrete and continuous light sources but ensure you decide on portable gear, lightweight and versatile.
In terms of discrete studio lights, Speedlights are the most popular, and for good reasons. Speedlights are fast external flash units that can be mounted on the camera or placed anywhere in the scene. You can use only one or more as they sync both with the camera’s shutter and among themselves. Other options are strobes. Strobes can’t be mounted on the camera and require a dedicated light stand and a power source. However, they produce a more powerful illumination, have a longer fall-off distance, and offer more adjustments in terms of light intensity and color temperature.
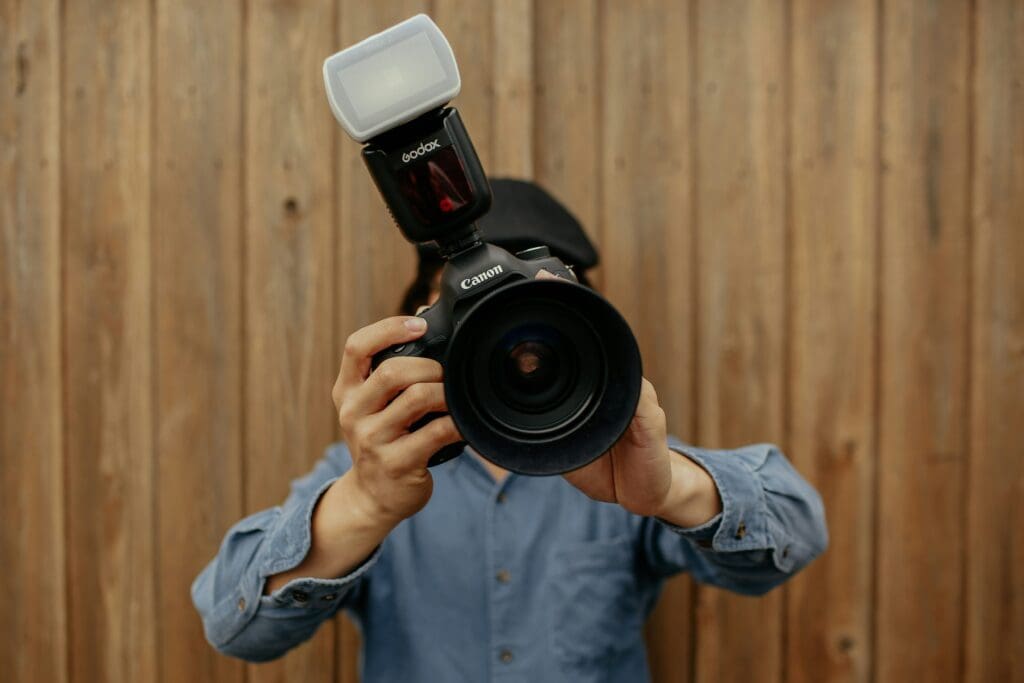
Photo by Tom Pumford on Unsplash
In terms of continuous studio lights, go for compact LED panels that can easily be used outdoors. LED panels are extremely versatile when it comes to color temperatures and intensity adjustments, and some models fit into your pocket and can be controlled via a smartphone. Furthermore, being a continuous light source, you get to see the final illumination on the subject before pressing the shutter release.
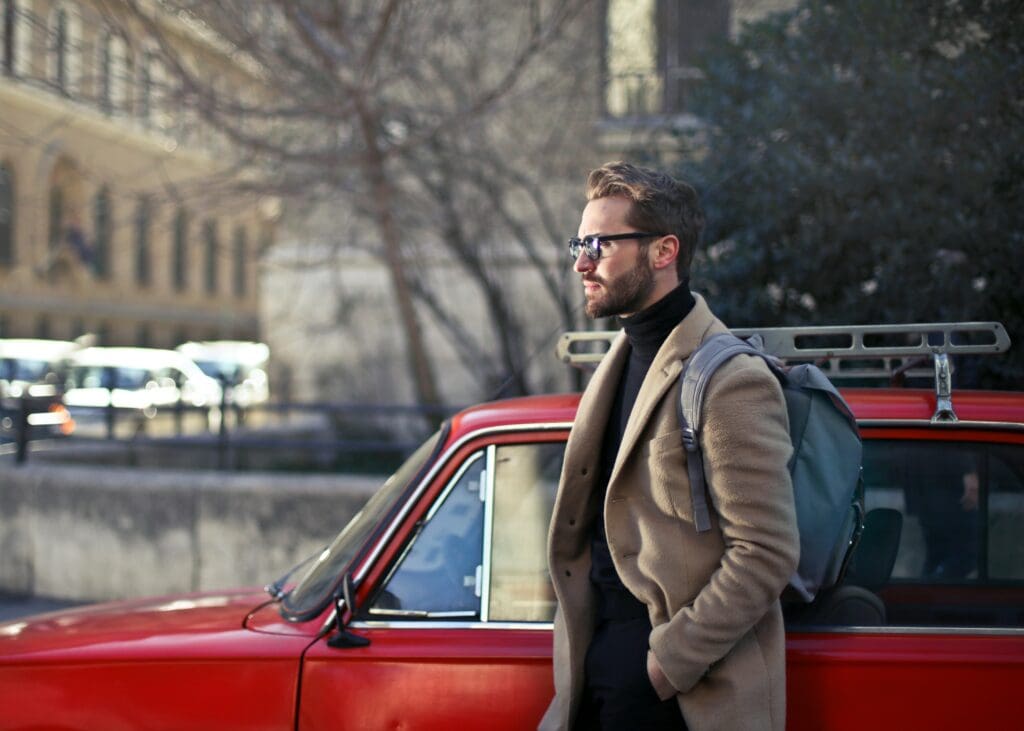
Photo by bruce mars on Unsplash
How to Use Studio Lighting Outdoors
When taking outdoor photos, you must consider sunlight as one of your light sources. If it’s powerful and faces the subject, sunlight may be the key light, in which case studio lights may act as fill lights or backlights. If sunlight comes from behind the subject or from lateral, you need a powerful studio light to illuminate the subject and make it stand out.
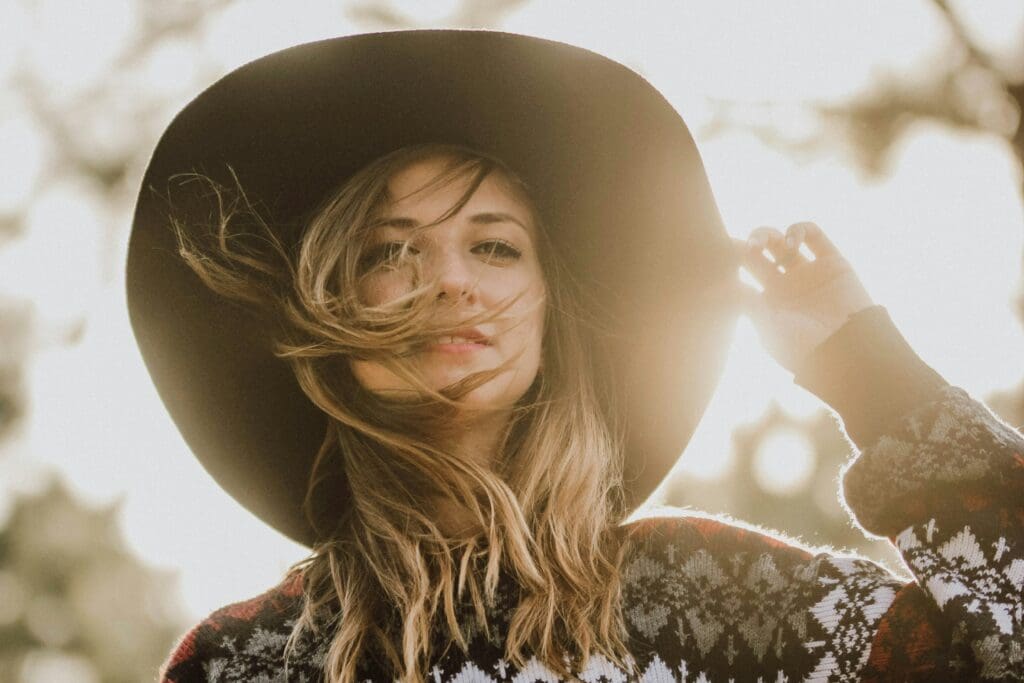
Photo by Rodolfo Sanches Carvalho on Unsplash
You may also use a studio light to illuminate the background and separate the subject from the background, as a rim light for a dramatic effect, or as a source of illumination for a secondary subject.
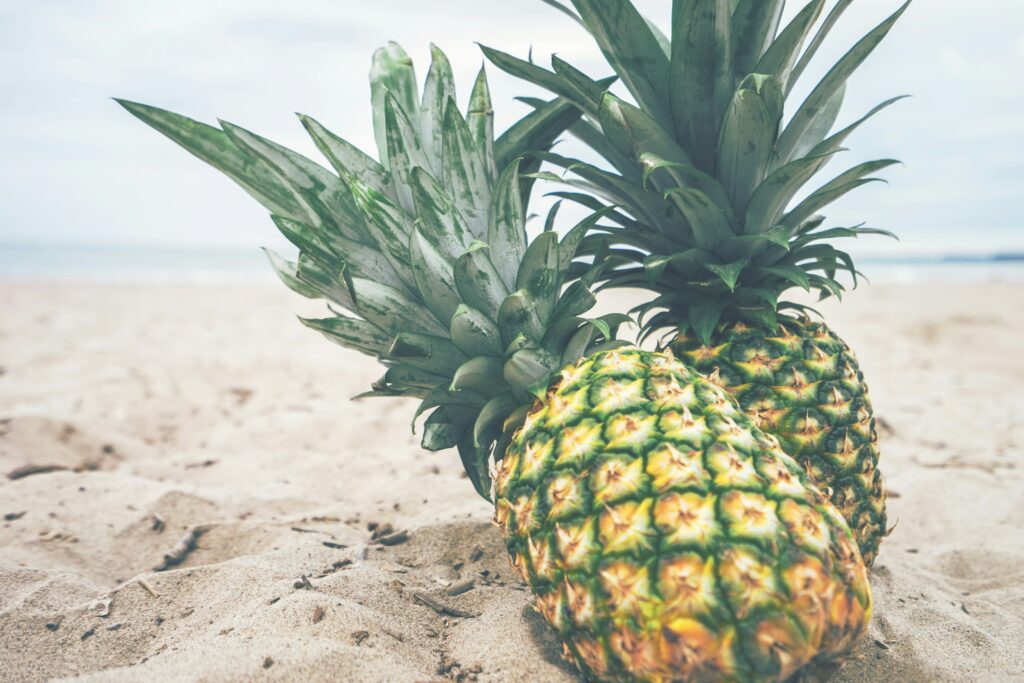
Photo by Pineapple Supply Co. on Unsplash
As you can adjust the light’s direction, intensity, and color temperature, experiment as much as possible. Try to complement natural light with similar color temperatures or, on the contrary, overpower it with powerful studio lights placed close to the subject. See what works for your style and subject matter.
Conclusion
Studio lights aren’t just for indoor use. Look for durable, resistant products that resist dust, dirt, and water, and invest in robust light stands to support them on any surface. But, more importantly, practice with various scenarios and lighting designs. It may take longer to set up your photo session, but the reward is worth it.
Cover photo by Dose Media on Unsplash