Let’s assume you have a good camera, maybe even a DSLR. You shoot in good lighting conditions and know how to get the right exposure. However, no matter what you do, sometimes your photos are grainy, covered with an irregular noise. Removing the noise in post-processing may be a solution but it’s not the best one. The best way to deal with grainy photos is by learning how to avoid them. Here are the most common mistakes that cause grainy photos.
High ISO settings
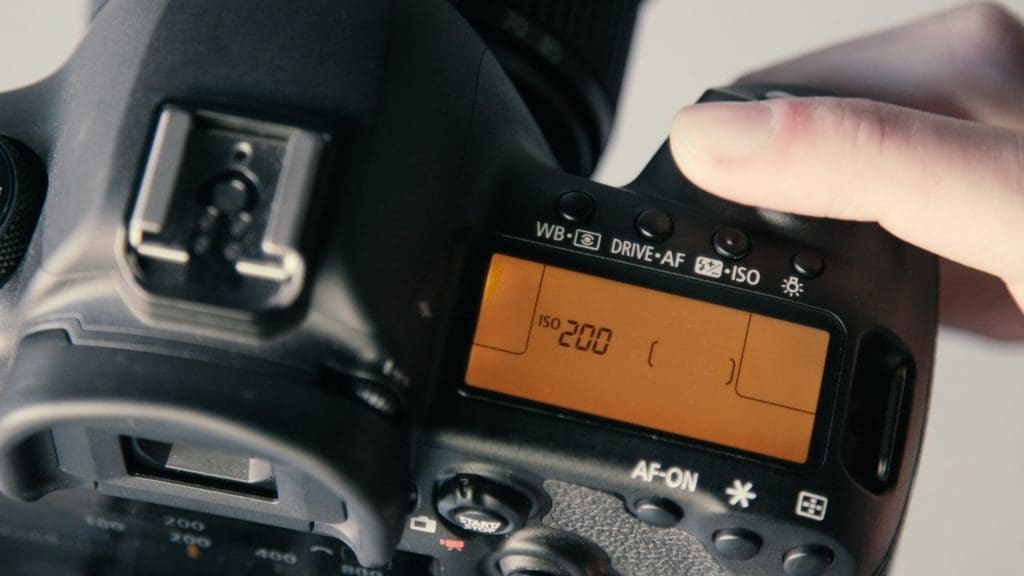
Most cameras give you the possibility to increase the ISO setting in order to use a faster shutter speed. This is very helpful when shooting in low lighting conditions or moving subjects. However, when you use a higher ISO setting you increase the risk of getting grainy photos. A higher ISO means your camera is more sensitive to light but in doing so it captures unwanted signals from the background. The noise produced by a high ISO value is called “color noise”.
Also, you’ll find cameras with extreme “HI“ and “LO“ values for ISO, which allows you to set an ISO value outside the camera’s range. These settings are particularly prone to noise because they exceed the camera’s possibilities and are just digital approximations.

Photo by ShareGrid on Unsplash
Small camera sensor
A small camera sensor heats faster and produces “thermal noise”. That’s why it’s more likely to have grainy photos when you take them in low lighting conditions and using a smartphone. A smartphone’s camera has a sensor about 1 cm across, while the old Nikon D3100 still had a 2.3 x 1.5 cm sensor. Newer DSLR cameras have sensors 4 or 5 times the size of a smartphone camera.
Long exposure photography
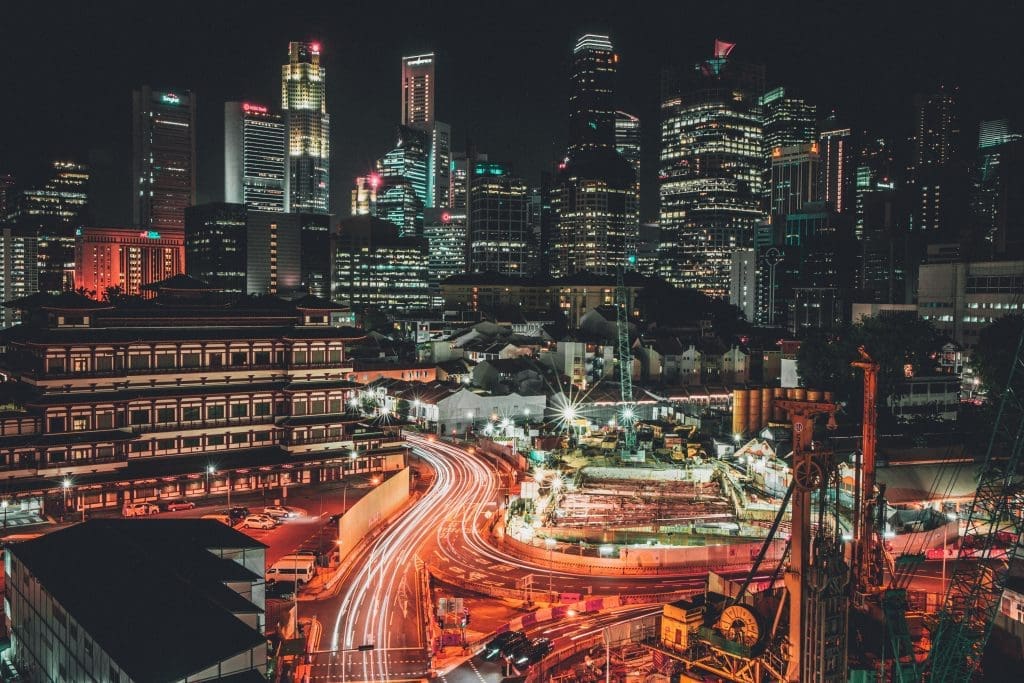
Even the larger sensors sometimes heat and produce “thermal noise”. When you expose the sensor to light for a long time, it may heat. Therefore, you have more chances to get grainy photos when you take long exposure photos. Make sure the exposure time doesn’t exceed your sensor’s capabilities.

Photo by Lily Banse on Unsplash
Low-resolution images
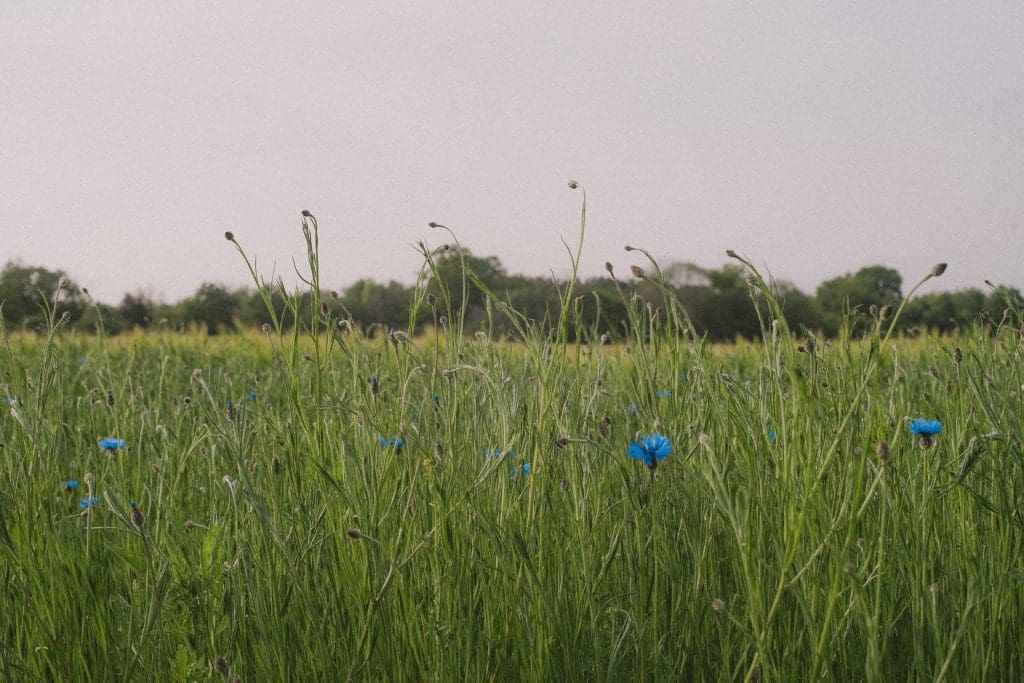
Sometimes you lower the resolution to make space for more photos on the memory card. Low-resolution images may look good on your camera’s display but not on a bigger screen. You need high-resolution images to have a wide dynamic range and clarity. So before lowering image resolution too much, perform a test and see how your images will look on a big screen.

Photo by Tim Rüßmann on Unsplash
Grainy photos are a sign that something went wrong. You can’t blame it entirely on lighting conditions and equipment. You can take amazing photos if you work with your limitations instead of ignoring them. Do not rely on post-processing to fix your mistakes. Be creative and experiment!
Cover photo by Pierre Bamin on Unsplash

