Natural Light can be the photographer’s best friend. It’s free, available in colors, and creates beautiful effects. Natural light depends only on time of the day and weather. It can require patience and endurance, but it delivers some of the most amazing pictures. Here’s everything you need to know to work with natural light in photography.
The Colors of Natural Light
During the day, sunlight passes through several colors. Based on the color of natural light you adjust the white balance and exposure settings. The color of light also influences the general atmosphere of the photos and dictates the use of specific filters. Knowing the color of light at each time of the day can help you decide the best moment for an outdoor photo session.
- When the sun is below the horizon, at twilight, dawn, and dusk, sunlight has a cold, bluish color. In photography, this time of the day is called blue hour and it’s recommended for pictures with low contrast and tonal colors and for low-key photography. At blue hour light’s intensity is very low.
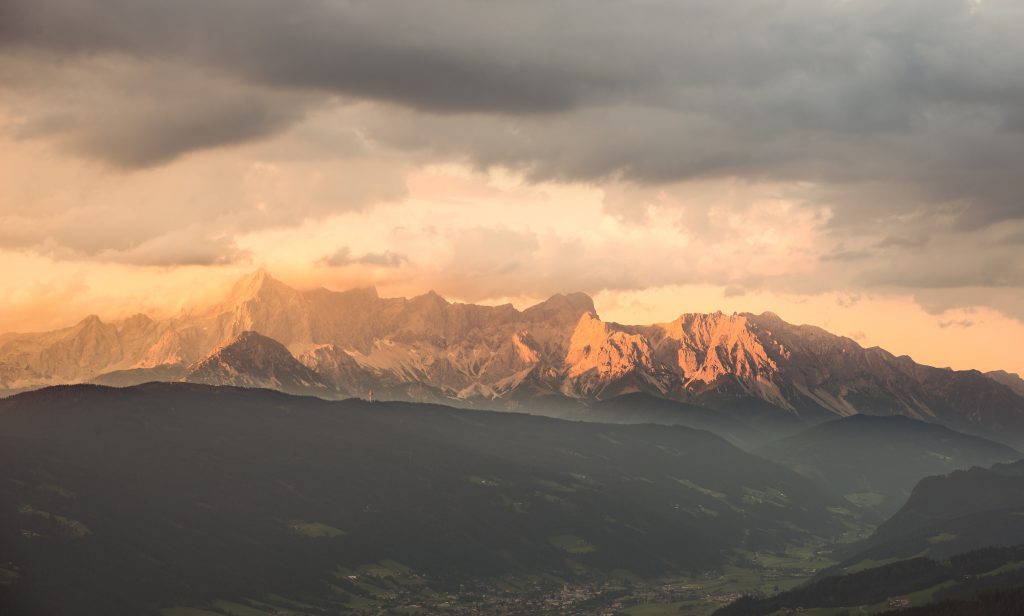
- When the sun is near the horizon, at sunrise and sunset, sunlight has very warm colors, like gold, orange, and red. In photography, this time of the day is called the golden hour and many photographers consider it the best time of the day. Golden hour is perfect for landscapes, portraits, beach photos, and almost any style of photography. While the colors are amazing, light’s intensity is still relatively low.

Photo by Christiane Nuetzel on Unsplash
- When the sun is about halfway above the horizon, sunlight has bright warm colors, yellow tones, but the light’s intensity is higher. This means you’ll have better contrast and enough light for short exposures, but you’ll lose the romantic and golden atmosphere of the golden hour. This time of day is perfect for all types of photography.
- When the sun is in its highest point above the horizon, at midday, the sunlight is almost white. Having the light perpendicular on your subject isn’t very flattering. The light’s intensity is very high and it can be harsh and ruin the scene’s colors. Use a circular polarizing filter to reduce reflections, enhance the sky’s colors, and soften the light.
The Directions of Light
At each time of the day, sunlight comes from a different direction. Sometimes you can move around the subject until you have the perfect lighting, but sometimes you just have to wait for the perfect time of the day or reconsider your composition.
- Landscapes look great with lateral lighting. For example, mountains at midday lose any color and become too sharp, while during the golden hour they look soft and glow. It’s the same for fields, forests, and hills.
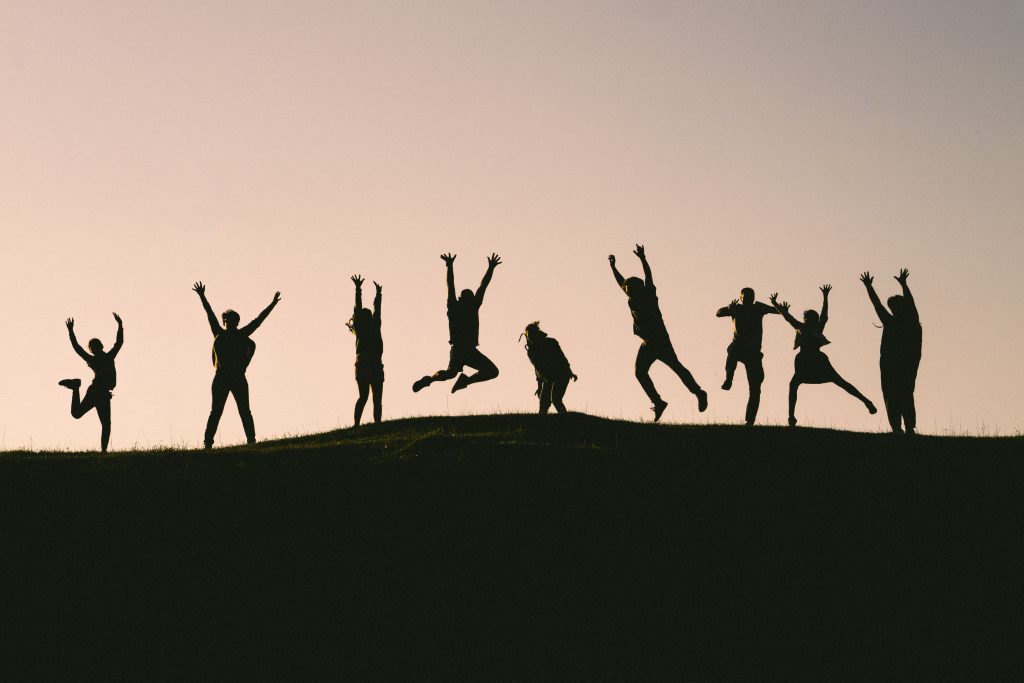
- Portraits look great with front lighting because it flatters the skin tone. Fashion portraits usually use also a source of lateral light to add shadows and mystery. So midday isn’t a good moment for portraits unless you can use reflected light. Golden hour is great for skin tone but it’s difficult to be between the subject and the sun, as the sun is very low. You can use backlighting and create magical silhouettes.

- Water is among the few subjects that benefit from vertical lighting. At midday, water can seem more transparent and clear.
- Street photos require a light source at 45° to have the perfect amount of highlights and shadows. Besides, street photography usually needs a fast shutter speed for moving subjects and this part of the day assures enough light to do this.
Natural light is depending on the weather and this only adds more authenticity and beauty. Diffuse light gives lower contrast and cooler colors but adds atmosphere. You’ll notice that there aren’t two days alike and this is the magic of outdoor photography. Catching the perfect natural light is challenging and rewarding. It also connects you with nature and your subject and adds value to your compositions. Natural light is alive.

