If you want to make the best of your digital camera, you need to learn all its functionalities. DSLR cameras can work in Auto mode (the camera automatically choose settings based on lighting conditions), Manual mode (you choose all the settings), Aperture priority mode (you choose the aperture and let the camera adjust the other settings to provide the correct exposure), and Shutter speed priority mode (you choose the shutter speed and let the camera adjust the other settings to provide the correct exposure). Knowing when to use each of these or choose between the aperture and shutter speed priority modes can take your photos to the next level and help you leave Automatic mode behind.
Why do digital cameras provide Aperture and Shutter speed priority modes? Well, because it’s faster to set a single parameter instead of setting all the parameters. Also, it’s safer not to let the camera decide everything for you. Aperture and shutter speed are essential elements that decide the direction of your compositions. Therefore, you should have something to say in choosing their values.
When to use Aperture priority mode
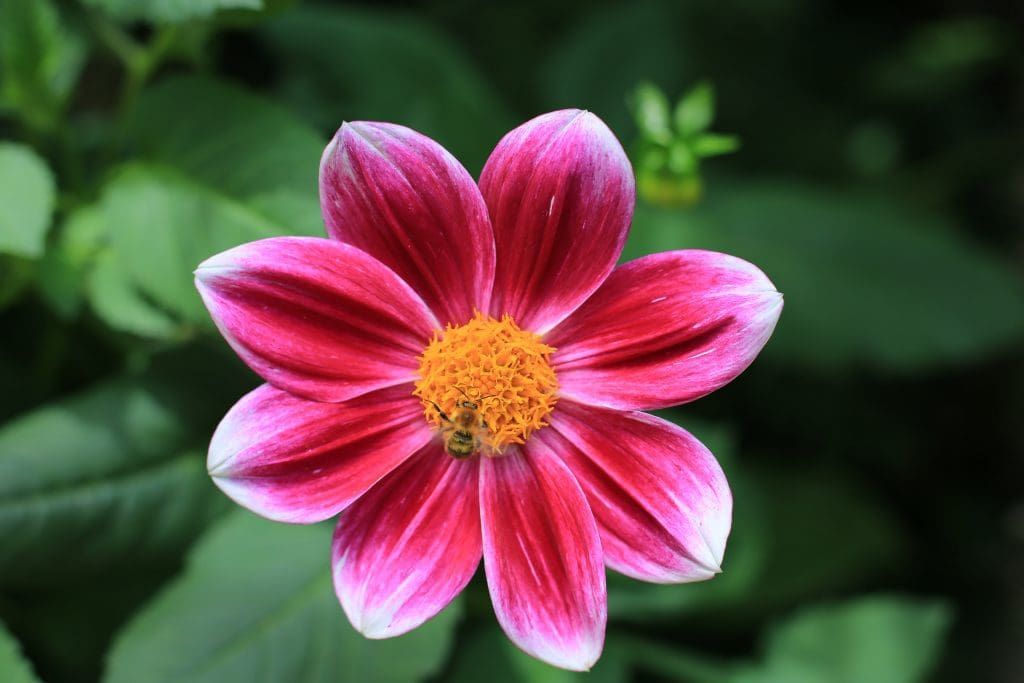
Aperture priority mode is useful when you want to achieve a specific depth of field. Large apertures (small f-numbers) will give you a shallow depth of field, while small apertures (large f-numbers) will give you a deep depth of field. And some scenes demand a certain depth of field.
For example, you want a shallow depth of field when you photograph a subject from a small distance, and you want to blur a busy background. And you want a deep depth of field when you photograph a landscape and want to have the entire scene in focus. You may also want a shallower depth of field for portraits. Large apertures work well when shooting in low-light conditions because they allow more light into the camera. On the other side, small apertures work well when shooting in powerful light conditions because they reduce the risk of overexposure.
So when you’re sure of the aperture, Aperture priority mode is what you should use.

Photo by nicolas reymond on Unsplash
When to use the Shutter speed priority mode
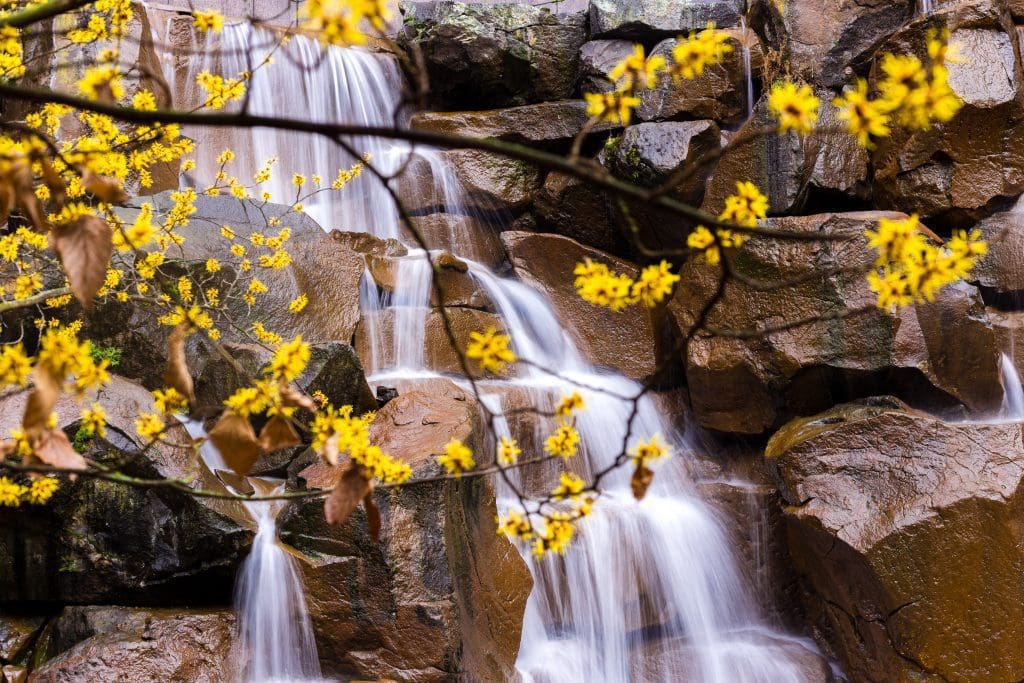
Shutter speed priority mode is useful when the shutter speed is an essential element of your composition. For example, photographing moving subjects is heavily based on shutter speed. If you want to freeze motion and deliver sharp photographs, you need a fast shutter speed. If you want to create motion blur and transpose the movement into the photograph, you need a slow shutter speed. Photographing rivers and waterfalls are the perfect examples of the usability of Shutter speed priority mode.

Photo by Delaney Van on Unsplash
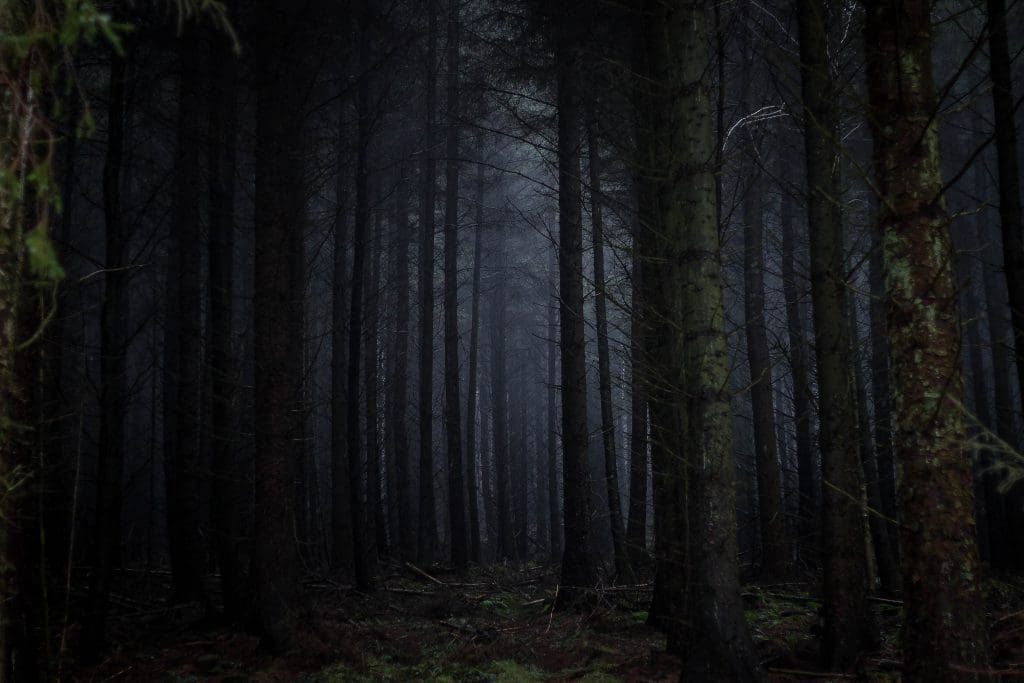
Shutter speed also helps when you want to balance lighting conditions. In low-light conditions, you usually set a slower shutter speed to avoid underexposing your photos. But what if you want to take low-key photographs and you want to capture that dark effect? Allowing the camera to set the shutter speed won’t get you the effect you want. Also, slow shutter speeds increase the risk of camera shake. If you don’t use a tripod, you want the fastest shutter speed you can have. As the camera doesn’t consider all the variables, it’s better to use Shutter speed priority mode and set the shutter speed yourself.

Photo by Rosie Fraser on Unsplash
Aperture and Shutter speed priority modes are tools that help you take better photographs faster. Ideally, you would only take photos in Manual mode and set up all the parameters. But this takes a lot of time, and sometimes you don’t have it. For example, street photography requires fast snapshots. Landscape photography requires a lot of energy to get to remote places, carry equipment, and stay on a strict schedule. Time is precious. Having useful tools at hand helps you focus on important tasks.
Cover photo by Keenan Barber on Unsplash

