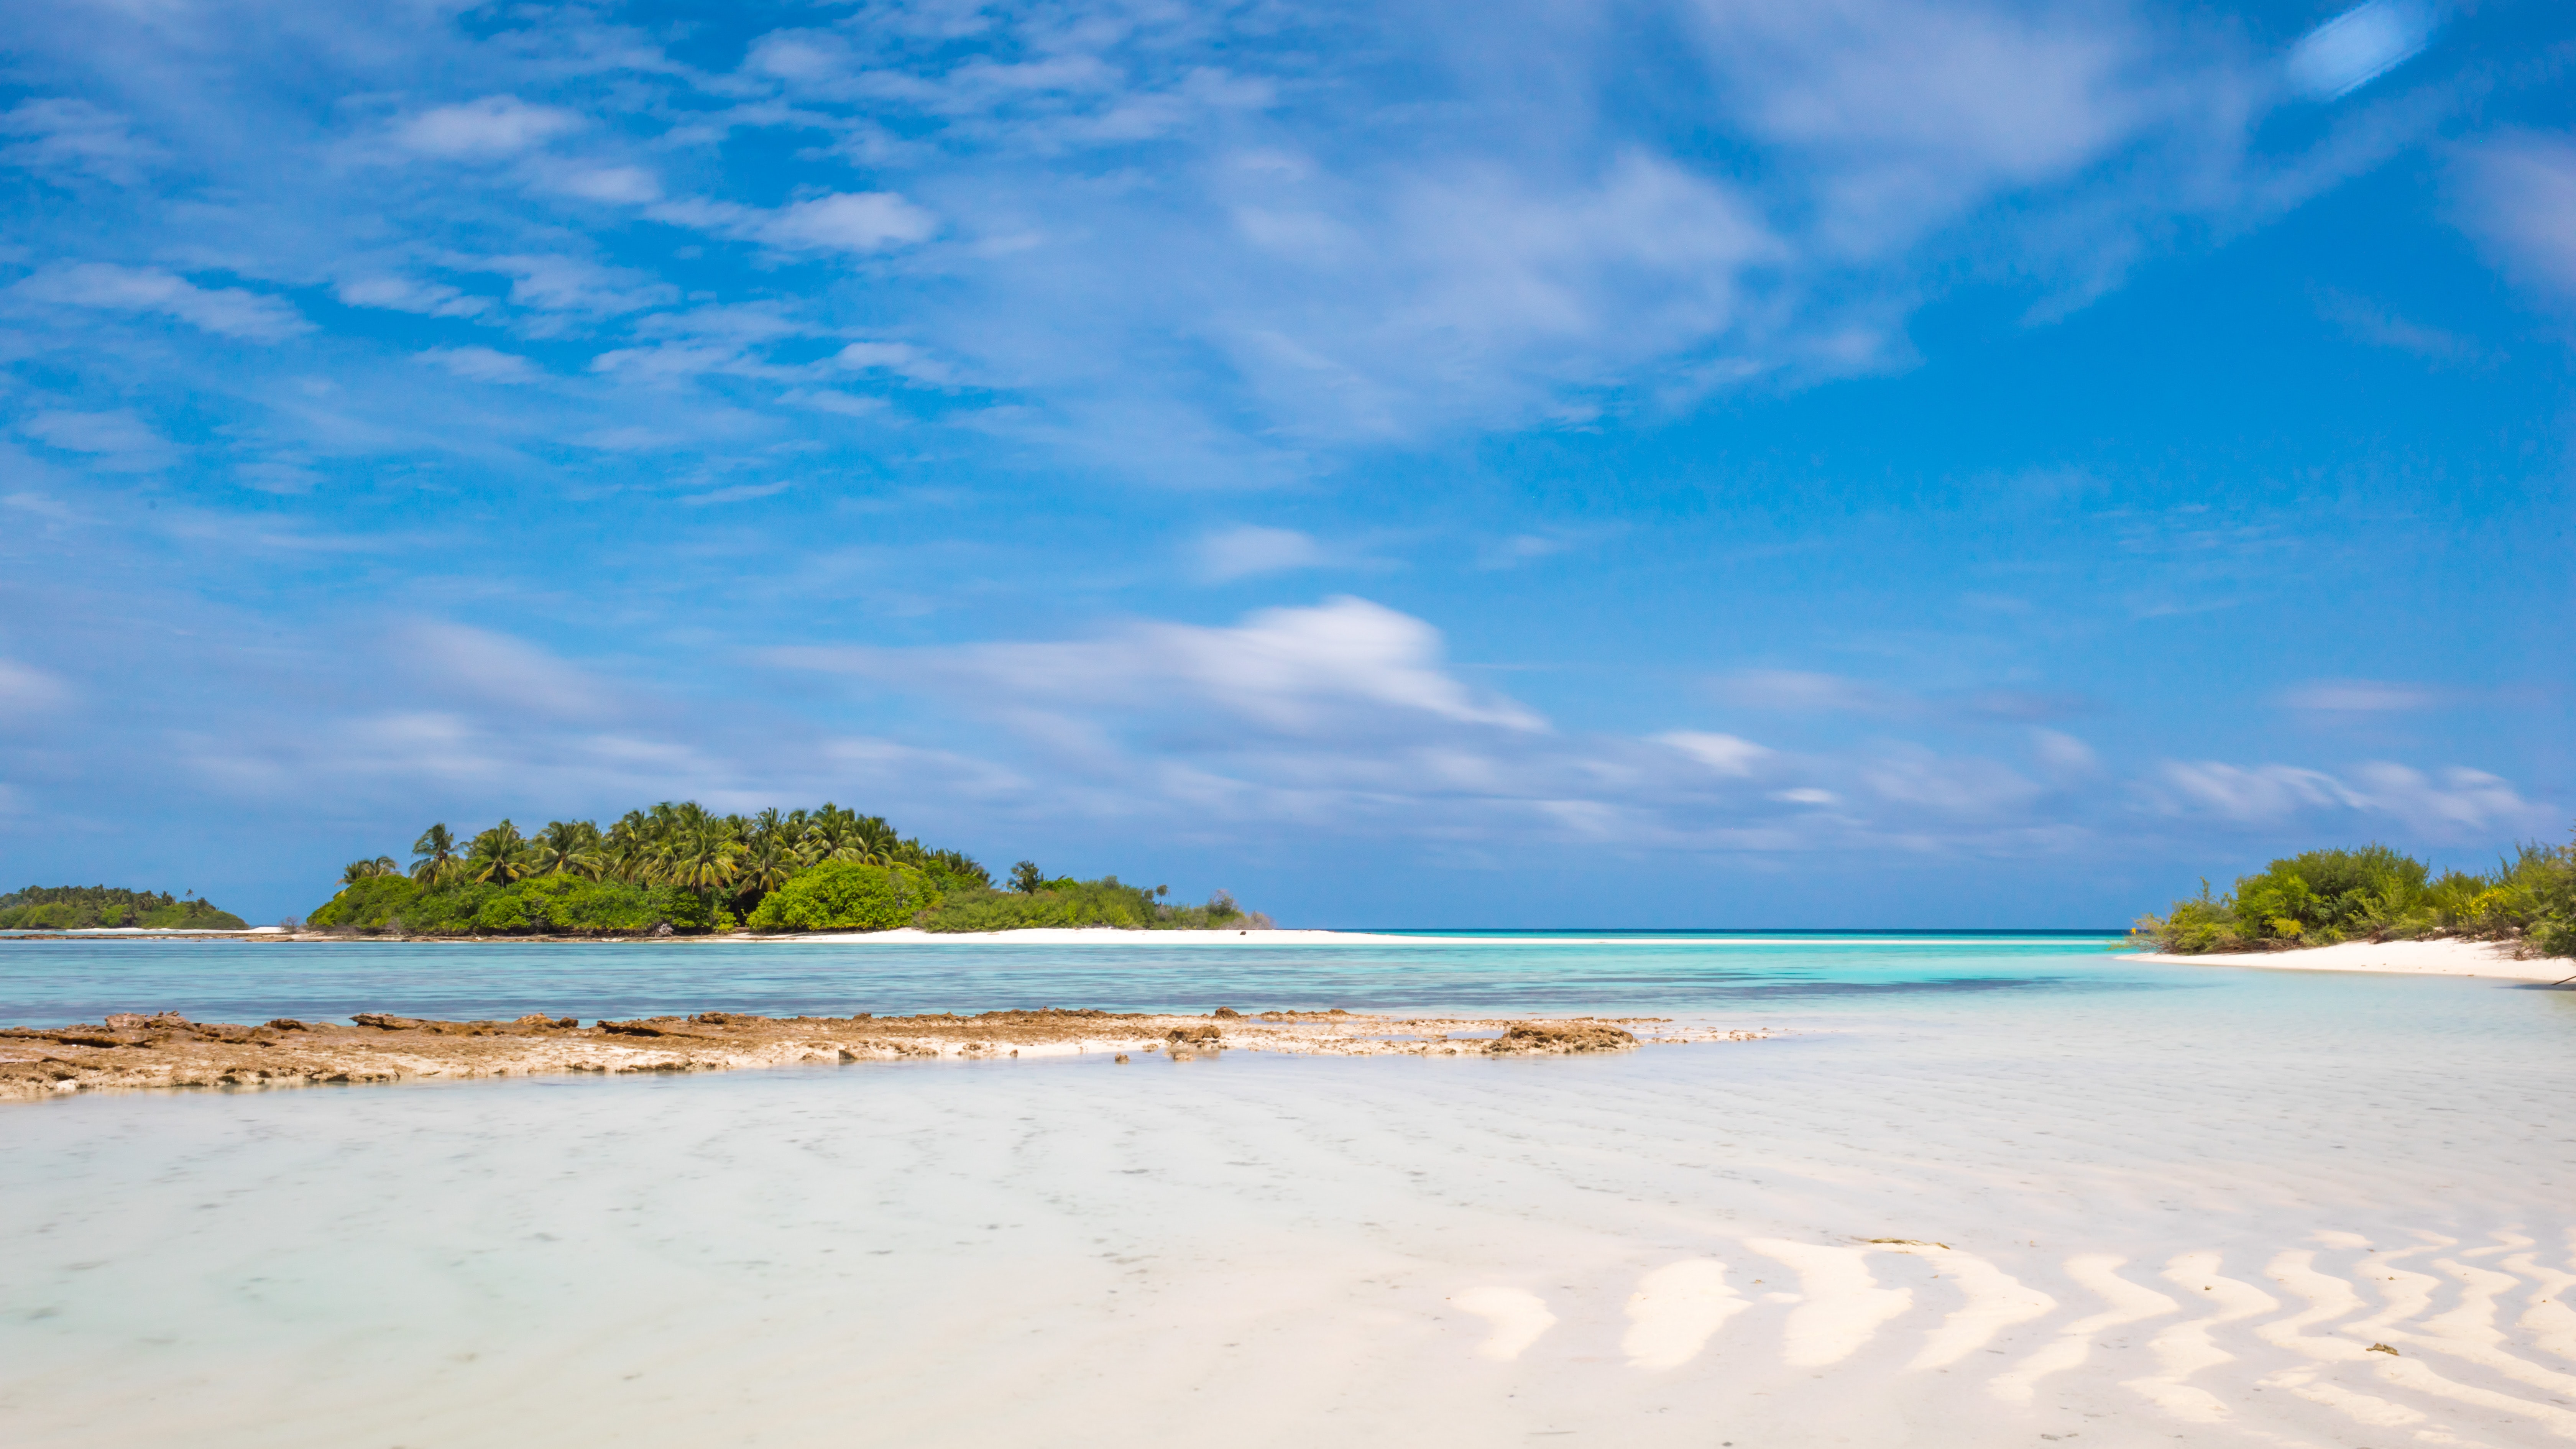
Landscapes are the preferred subject matter for many photographers. They’re spectacular, impressive, and challenging at the same time. To capture the best images, many people travel to remote places and wait for weeks for the perfect weather conditions and light. This involves a lot of planning and knowledge. Still, there is a huge amount of unpredictability in landscape photography.
You’ll find plenty of tips on how to choose the best time of the day for landscape photography. But what if you’re unable to choose? What if you climbed a mountain and have just a couple of hours in the middle of the day to take pictures before descending? Not all of us afford to plan a group expedition, hike at night, or wait on the field for weeks. As a result, we need to make the best of the present moment. Check out the following tips for taking amazing photos of landscapes in the midday sun, the worst time of the day for landscape photography.
Choose less bright subjects
Especially during summer, the midday sun will be bright and harsh. You’ll probably have a clear light blue sky, wash-out colors, and flat compositions. It will be almost impossible to achieve anything else than short exposures and even though it will be tricky not to overexpose your images.
The first thing you can do is lower your camera and aim for less bright subjects. Reduce the amount of sky in your compositions or avoid it altogether. Also, avoid white beaches and rocks, large areas of water, and anything that reflects light. If you can, take pictures under the shelter of trees
Remember to set the exposure based on the brightest subject. Sometimes it helps to use spot metering to make sure the camera exposes correctly.
Photo by Ian Turnell from Pexels
Use a lens hood
Most lenses come with hoods and now it’s the time to use them. A lens hood protects the lens from the sun and helps you avoid flares. There are very few situations in which you should point the camera to the sun but the hood gives you a little more freedom in that direction.
Use an ND filter
An ND filter reduces the amount of light that enters the camera. This allows you to slightly decrease the shutter speed and aim for longer exposures. If you photograph running waters or want to capture the movement of grass in the wind, you want a slower shutter speed. An ND filter also helps you avoid overexposing bright areas of the frame while making landscapes in the midday sun. In this case, it’s better to use a graduated ND filter because it has different intensities across its surface and provides different exposures for the areas of the scene. For example, a graduated ND filter will allow you to darken a bright midday sky.
Use a polarizer filter
A polarizing filter reduces reflections and glares and it’s great when you want to photograph water in the midday sun. But it also enhances the color saturation and contrast and makes the sky more intense. Make sure you rotate the filter until you find the best position for the light direction in your scene. A polarizing filter can have irregular results and produce unnaturally dark blue patches of sky.
Replace the sky in post-processing
This has to be your last resort. If you don’t manage to have the correct exposure both for the sky and the rest of the scene, expose for the foreground and change the sky in post-processing. You can take similar pictures with different exposure settings and combine them using a photo editor. Or you can use sky photos taken some other time. But make sure you don’t create unnatural landscape photos. Use sky photos with the same lighting conditions as the original image.
Don’t be afraid to go outside and take pictures at any time of the day. Learn the limitations of your gear and practice until you find the settings that work for you. Don’t rely on post-processing. While it can help a lot, a photo editor can’t have the same result as using a polarizer filter or an ND filter at the right moment. It also can’t change the composition. So take multiple pictures of a scene using different settings and compositions. And learn from your mistakes. We hope these tips help you take better Landscapes in the Midday Sun.
For more landscape articles click here.
Cover photo by Ishan @seefromthesky on Unsplash

