


There are times in a photographer’s life when lighting conditions, gear, and camera–subject positioning don’t align the way the photographer wants and a shallow depth of field is impossible to avoid. You have to choose between sacrificing your composition and rethinking the frame or finding a way to extend the depth of the field. The good news is there is a way to extend the depth of field and create sharp photos with a strong focal point. It’s called focus stacking.
What is focus stacking?
Focus stacking is a technique for increasing the depth of field by taking multiple photos of the same scene with different focal points and blending them. In order to succeed, you need to stabilize the camera and make sure you don’t change its position and exposure settings from picture to picture. All you have to change is the focus.
When do you need stacking?
You may want to use focus stacking for macro photography when you have the subject larger than the area in focus. Macro photography is known for its shallow depth of field and sometimes you just need an extra couple of millimeters of sharpness and clarity.


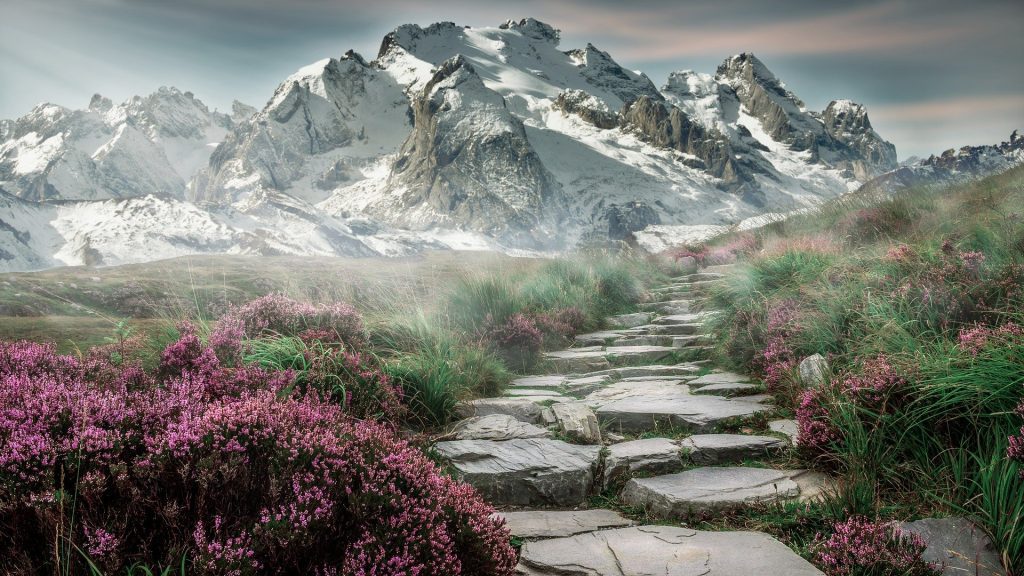
Photo by Alexander Hipp on Unsplash
Landscape photographers also use focus stacking, especially when they are far away from the subject and use telephoto lenses. They want a deep depth of field and, when this isn’t possible, they blend images with different focal points and recreate the scenery they have in front of them. Focus stacking helps you keep in focus subjects with different camera–subject distances.

The truth is you can use focus stacking for any type of photography. From real estate photos that need to show both the interior of the house and the view from the window to creative compositions with more than just one focal point, focus stacking has many advantages.
How to achieve focus stacking
The most important part of focus stacking is how you take the photos. First of all, you need a camera with manual focus. Secondly, the source images have to be perfectly aligned and identical in composition and lighting. Use a tripod or a firm surface to stabilize the camera. You may want to use a remote shutter release just to make sure you don’t move the camera while taking the photos. Then adjust camera settings to get the perfect exposure. From now on, all you get to adjust is the focus ring.
Take as many pictures as you consider necessary. For example, you may start by focusing on the closest point to the camera and move forward from there. There is no precise number of photos for stacking. However, blending 30 images may be harder than blending just four.
Choose an editor that knows focus stacking. You can overlay and align your images manually too, but it’s time-consuming and prone to errors. Fortunately, most photo editors provide dedicated tools for stacking images, and even if you still have to do some manual adjustments they save you a lot of trouble (e.g. ON1, Affinity Photo, Adobe Photoshop).
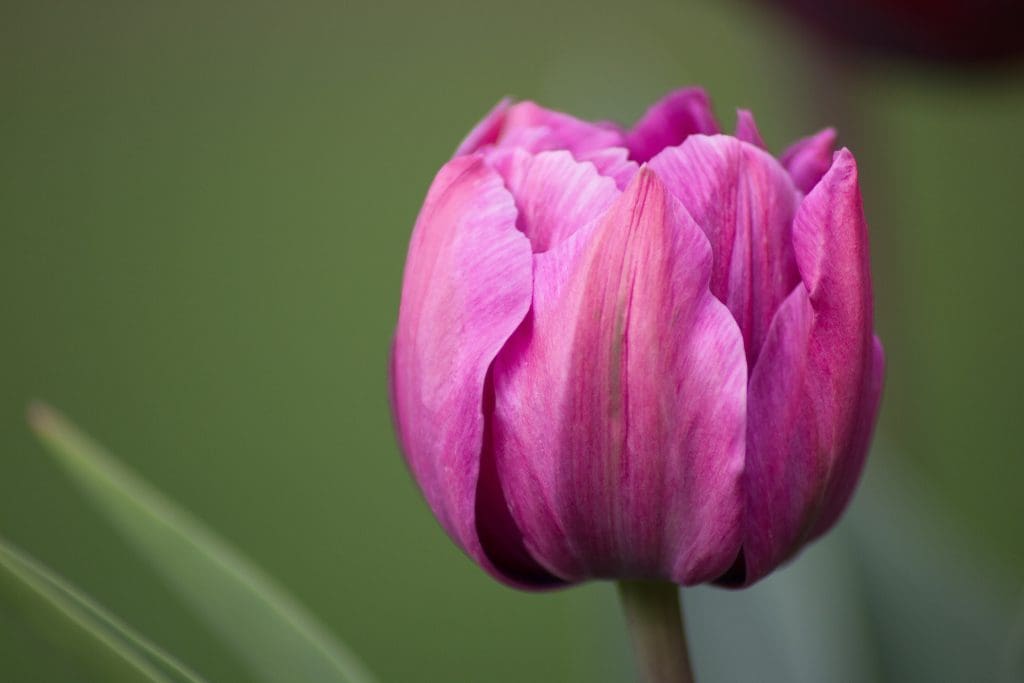
Photo by Peter Sumner on Unsplash
Be creative. When something doesn’t go according to plan, find solutions to bring to life your artistic vision. You don’t need expensive gear to take amazing photos. Just some imagination, playfulness, and dedication. FS requires speed and precision, but the results can be impressive. For other techniques check out these articles.
Cover Photo by Di Maitland on Unsplash